
7 Ways to Improve Sourdough Crust
Table of Contents
- 1. Master Sourdough Baking Steam Techniques
- 2. Use Dutch Oven Sourdough Baking for Trapped Heat
- 3. Perfect Your Sourdough Scoring for Crust Development
- 4. Control Cold Proofing and Blistering
- 5. Adjust Oven Temperature and Bake Time
- 6. Optimize Hydration Levels and Surface Tension
- 7. Cool and Store Your Loaf Properly
- Common Mistakes That Ruin Your Crust
- Frequently Asked Questions
Last Updated: October 2, 2026
1. Master Sourdough Baking Steam Techniques
Steam transforms a dense, pale loaf into bakery-quality sourdough with a crispy, golden crust by keeping the surface soft enough to expand, which is essential to improve sourdough crust. Trap moisture around your dough during the critical first 15-20 minutes of baking.
A Dutch oven is the simplest method: preheat to 500°F for at least 30 minutes, then bake covered for 20 minutes to trap steam. Remove the lid to let the crust set and brown.
Without a Dutch oven, use a baking stone with a pan of boiling water on the oven floor. Pour water carefully into the pan below and close the door quickly to contain steam.
Steam for the first third of your total bake time: 15 minutes for a 45-minute bake, 20 minutes for a 60-minute bake. After the crust sets, additional steam won't help.
2. Use Dutch Oven Sourdough Baking for Trapped Heat
A Dutch oven traps steam and concentrates radiant heat, creating exceptional crust development.
Heat radiates from all sides, baking the dough faster and more evenly. The pot insulates the bottom from direct heat while the lid reflects heat down for even browning.
Preheat your Dutch oven for at least 30 minutes at 500°F. Use a bread sling to transfer your shaped dough safely without deflating it. Lower gently and cover immediately.
Bake covered for 20 minutes, then uncovered for 20-25 minutes until the internal temperature reaches 205-210°F. This transition develops color and crispiness.
3. Perfect Your Sourdough Scoring for Crust Development
Scoring is structural, not decorative. It gives your dough a controlled place to open, preventing unpredictable splitting.
Make a single confident cut at a 45-degree angle, about ¼ inch deep, across the top. This directs the crust to open in a specific direction, maximizing oven spring and creating the signature "ear."
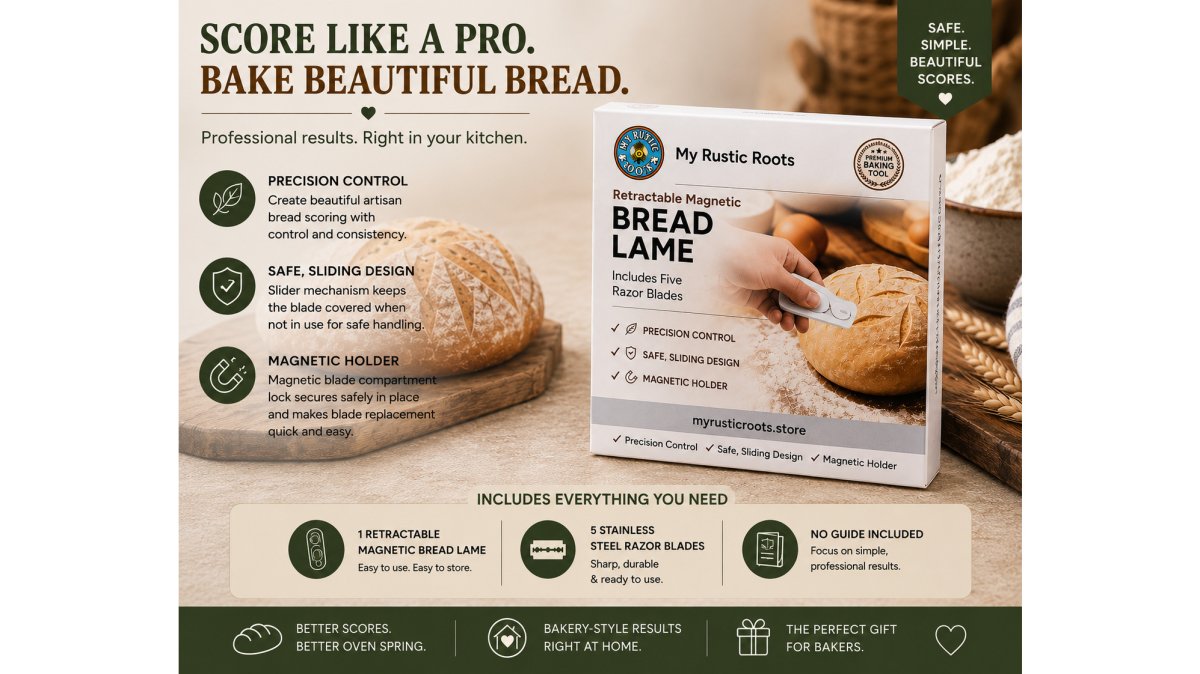
Use a sharp blade; a dull one tears instead of cutting cleanly. The My Rustic Roots Magnetic Retractable Bread Lame includes five stainless steel razor blades and a scoring guide for precision control.

Score just before transferring to your Dutch oven. Scoring too early causes the cut to seal; too late risks deflating the dough.
Decorative secondary cuts are purely aesthetic and require a steady hand and sharp blade. Practice before attempting complex patterns.
4. Control Cold Proofing and Blistering
Cold proofing is where flavor develops and where you gain control over your baking schedule. A long, slow fermentation at low temperature, typically 8-16 hours in the refrigerator, develops deeper flavor and creates a more open crumb structure than a quick room-temperature proof.
But cold proofing also affects your crust. Dough that's been refrigerated develops a slightly different surface texture. The cold slows yeast activity, so the dough rises more slowly and the gluten has time to relax. This creates a tighter, smoother surface that blisters more easily when exposed to heat.
Blistering is that beautiful, uneven browning pattern you see on artisan loaves. It happens when the surface moisture caramelizes unevenly. Cold-proofed dough blisters more readily because the surface is drier after sitting in the fridge. If you want pronounced blistering, cold proofing is your answer.
To maximize blistering: proof your shaped dough in the refrigerator for 12-16 hours. Remove it from the fridge 30 minutes before baking, this brings the surface temperature up slightly without fully warming the dough. Score it, then bake immediately. The combination of a cold interior and a slightly warmer surface creates ideal conditions for dramatic blistering.
If you prefer a smoother, less blistered crust, skip the extended cold proof and use a shorter room-temperature proof instead. Your crust will be more uniform in color and texture. Both approaches are valid, it's a matter of preference.
White Magnetic Retractable Bread Lame & 5 Razor Blades | Artisan Bread Scoring →
5. Adjust Oven Temperature and Bake Time
Oven temperature and bake time are interconnected, you can't optimize one without considering the other. Too hot and your crust browns before the interior bakes through. Too cool and your crust never crisps.
The standard approach is to start high and finish moderate. Preheat your oven to 500°F with your Dutch oven inside. Bake covered at 500°F for 20 minutes. Then remove the lid, lower the temperature to 450°F, and bake uncovered for another 20-25 minutes until the internal temperature reaches 205-210°F.
This two-stage approach works because the high initial heat creates aggressive oven spring and sets the crust quickly. The lower second stage allows the interior to bake through without burning the outside.
If your crust is too hard and thick, your oven temperature is too high or your bake time is too long. Lower the temperature by 25°F and reduce the uncovered baking time by 5 minutes. If your crust is too pale and soft, increase the temperature by 25°F or extend the uncovered bake by another 5 minutes.
Every oven behaves differently. A convection oven bakes faster and more evenly than a conventional one. A home oven's actual temperature often differs from what the dial says. Invest in an oven thermometer to verify your actual baking temperature. This single tool solves most crust problems.
| Crust Problem | Temperature Adjustment | Time Adjustment |
|---|---|---|
| Too hard and thick | Lower by 25°F | Reduce by 5 minutes |
| Too pale and soft | Raise by 25°F | Add 5 minutes |
| Uneven browning | Use convection mode | Rotate halfway through |
| Bottom burns | Lower rack position | Reduce heat from below |
6. Optimize Hydration Levels and Surface Tension
Hydration, the ratio of water to flour, directly affects your crust. Higher hydration doughs (75-80% water) produce more open crumb structures and thinner, crispier crusts. Lower hydration doughs (65-70%) create tighter crumbs and thicker, chewier crusts.
If you want a thin, crispy crust, increase your hydration slightly. If you prefer a chewy, substantial crust, reduce hydration. Most sourdough recipes land around 75% hydration as a balanced middle ground.
Surface tension matters just as much. A tight surface allows steam to build pressure underneath, creating better oven spring and a more dramatic crust. A slack surface releases steam too quickly, resulting in a flat loaf with minimal crust development.
To build surface tension during shaping, use the stretch-and-fold technique during bulk fermentation. Every 30 minutes for the first 2 hours of bulk fermentation, wet your hand, grab one side of the dough, stretch it up and fold it over the center. Rotate the bowl 90 degrees and repeat. Do this four times total. This strengthens the gluten network and creates a tighter surface.
When you shape your dough for final proofing, tension matters again. Shape it firmly but not aggressively. Use the windowpane test to check gluten development: gently stretch a small piece of dough between your fingers. If it stretches thin enough to see light through without tearing, your gluten is ready. If it tears, continue bulk fermentation for another 15-30 minutes.
7. Cool and Store Your Loaf Properly
The moment your loaf comes out of the oven is not the moment it's finished baking. The interior continues to cook as residual heat moves from the outside in. If you slice too early, the crumb will be gummy and the crust will steam away.
Cool your loaf on a rack for at least 1-2 hours before slicing.
Common Mistakes That Ruin Your Crust
Most crust problems trace back to a handful of recurring mistakes. Understanding what goes wrong helps you diagnose and fix issues in your next bake.
Frequently Asked Questions
What is the secret to a crispy sourdough crust?
Crispy crust comes from three factors: steam during the first 20 minutes of baking, proper hydration (around 75-80%), and cooling completely on a rack before slicing. Steam creates oven spring and keeps the surface moist enough to brown deeply; as it escapes during the final bake phase, the crust dries out and crisps. A Dutch oven traps steam naturally, making it the most reliable method for home bakers.
Why is my sourdough crust soft instead of crispy?
Soft crust usually means insufficient steam or too much residual moisture. If you're baking without a Dutch oven, steam escapes too quickly. If you're storing the loaf in a sealed container before it cools completely, steam reabsorbs into the crust. Always cool your loaf on a rack for at least 1-2 hours before storing. You can also increase initial oven temperature to 500°F and bake covered for the first 25 minutes.
How does steam affect sourdough crust development?
Steam keeps the dough surface soft and pliable during the first 20-25 minutes of baking, allowing maximum oven spring and expansion. It also promotes the Maillard reaction, which creates the deep brown color and complex flavor. Without steam, the crust sets too early and splits unpredictably. A Dutch oven is the simplest way to trap steam; alternatively, spray the oven walls and loaf with water before closing the door.
Does cold proofing improve sourdough crust texture?
Yes. Cold proofing (overnight in the refrigerator) slows fermentation and gives the dough time to develop flavor and strength. A stronger dough holds its shape better during scoring and oven spring, resulting in a more defined, attractive crust. Cold dough also blisters more easily because the cold surface contracts when it hits the hot oven, creating tension. Most sourdough bakers proof for 12-16 hours at 38-40°F for optimal crust development.
How does flour choice affect my sourdough crust?
Higher-protein flours (12-14% protein) develop stronger gluten networks, which support better oven spring and more dramatic scoring. Whole wheat flour adds color and nuttiness but can make crust thicker if used above 20% of the blend. Rice flour or cornmeal dusted on the loaf prevents sticking and creates a slightly crunchy texture. Most artisan bakers use bread flour (11-13% protein) for the ideal balance of crust crispness and chew.