
Maintain Sourdough Starter Without Daily Feeding
Table of Contents
- Why Daily Feeding Isn't the Only Way
- Refrigerating Sourdough Starter: The Core Method
- How to Revive Sourdough Starter After Fridge Storage
- The Zero Discard Sourdough Starter Method
- Reading the Signs: Healthy, Hungry, or Neglected
- Fitting Starter Care Into Your Baking Schedule
- Frequently Asked Questions
Last Updated: September 25, 2026
Why Daily Feeding Isn't the Only Way
How to maintain sourdough starter without daily feeding comes down to one simple truth: cold slows yeast down. A starter stored in the fridge can go a week or more between meals and still bake great bread.

That matters because daily feeding is the top reason beginners quit. Life gets busy, the jar gets forgotten, and the whole project stalls.
At My Rustic Roots, we hear the same story from new bakers again and again. They think sourdough demands a rigid daily routine. It doesn't.
Sourdough starter is a live culture of wild yeast and lactic acid bacteria that leavens bread. It needs flour, water, and time, not constant attention.
The fridge is your tool, not your enemy. Below, we'll show you exactly how to refrigerate, revive, and bake with a starter you feed on your schedule.
Refrigerating Sourdough Starter: The Core Method
Refrigerating sourdough starter is the standard way to slow fermentation between bakes. The mechanism is straightforward: wild yeast and lactic acid bacteria are temperature-sensitive, and cold temperatures reduce their metabolic rate rather than stopping it entirely.

What Actually Happens at Fridge Temperatures
A typical home refrigerator runs between 35°F and 40°F. At those temperatures, yeast activity drops sharply, most practitioners find fermentation slows to roughly a tenth of its room-temperature pace, but it does not hit zero. That is why a refrigerated starter still develops hooch, still rises slowly, and still needs feeding every week or two.
The lactic acid bacteria are slightly more cold-tolerant than the yeast. Over a long cold rest, that imbalance nudges the culture tangier. A starter that was mild on the counter will often taste more sour after a week in the fridge, even without a feeding.
This is also why cold storage is not the same as dormancy. The culture is alive and slowly working. Treat it as a paused starter, not a preserved one.
Step-by-Step: Moving an Active Starter to the Fridge
Start with an active, bubbly starter that has been fed within the last 24 hours. A sluggish or neglected culture will not store well, because it enters the cold already weak.
- Feed it at your usual ratio and let it sit at room temperature for 1 to 2 hours. You want visible early activity, not a full peak.
- Seal the jar with a lid that allows a little airflow, or a solid lid left slightly loose. A fully sealed jar can build pressure.
- Place it on a middle shelf, not the door. Door shelves swing between 40°F and 50°F every time the fridge opens, which accelerates fermentation unevenly.
- Label the jar with the date so you are not guessing later.
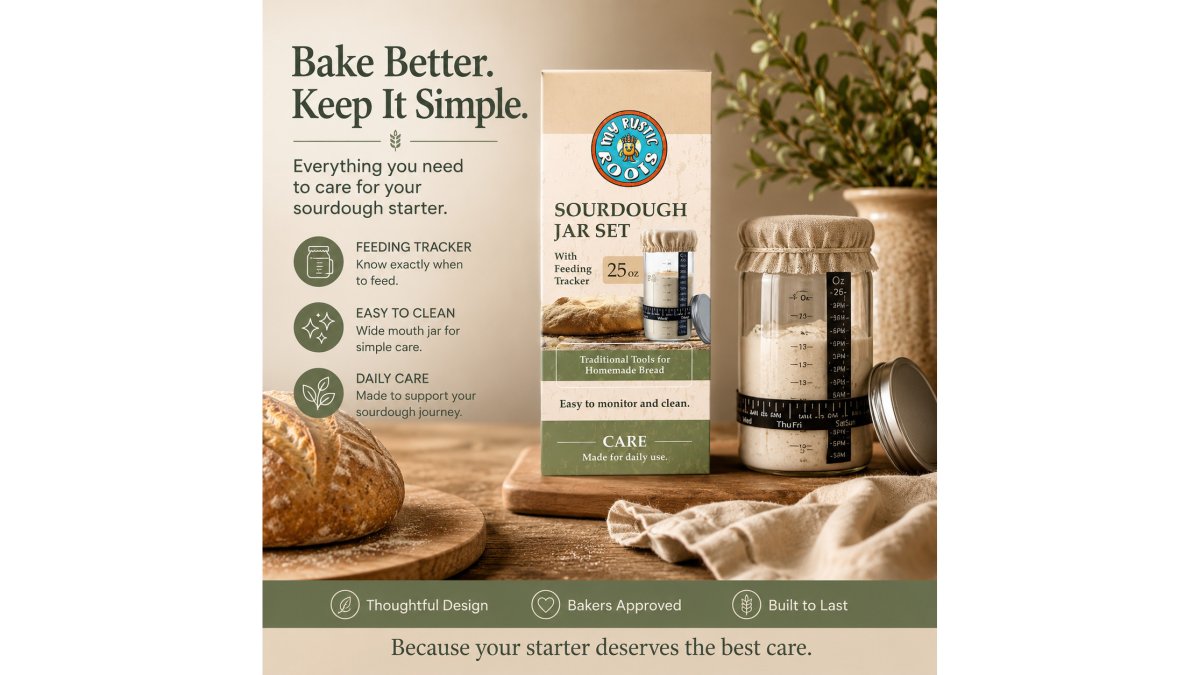
A clear jar with measurement markings makes this much easier.
How Often to Feed a Refrigerated Starter
A refrigerated starter typically needs feeding once every 5 to 7 days. Some bakers stretch it to 10 days or more with no trouble, especially with a stiff starter kept on the coldest shelf.
The schedule depends on four things:
- Hydration level: a stiff starter (around 60% hydration) ferments more slowly than a wet one (100% or higher).
- Fridge temperature: a 35°F shelf slows things noticeably more than a 40°F shelf.
- Activity before chilling: a starter fed and chilled at early rise holds longer than one chilled at full peak.
- Flour type: whole grain and rye starters stay active longer in the cold than all-purpose starters.
Cold Storage Trade-Offs to Know
Long cold rests are convenient, but they are not free. Three things shift the longer a starter sits:
- Acidity climbs. Hooch forms, the smell sharpens, and gluten-weakening acids build up. A starter stored three weeks will need two or three refresh feeds before it bakes well.
- Yeast population drops. The culture stays alive but the yeast-to-bacteria ratio tilts toward bacteria. Revival feedings restore the balance.
- Hydration drifts. A loosely covered jar loses moisture and the starter stiffens. Check texture, not just the calendar, before feeding.
How to Revive Sourdough Starter After Fridge Storage
Reviving a starter after fridge storage takes 1 to 3 days of regular room-temperature feedings. The culture isn't dead, just sleepy.
Here's how to revive sourdough starter after the fridge:

- Pull the jar out and let it sit at room temperature for about an hour.
- Pour off any dark liquid on top, or stir it back in for a tangier loaf.
- Discard all but a few tablespoons of starter.
- Feed with fresh flour and lukewarm water at your usual ratio.
- Repeat every 12 hours until it doubles within 4 to 6 hours.
Timeline by Flour Type
Revival speed shifts with the flour you use. Whole grains carry more nutrients for the yeast, so they wake up faster.
| Flour Type | Typical Revival Time | Notes |
|---|---|---|
| Rye | 1-2 days | Fastest to wake, strong activity |
| Whole wheat | 1-2 days | Quick revival, nutty flavor |
| Bread flour | 2-3 days | Reliable, moderate speed |
| All-purpose | 2-3 days | Slower, but steady |
The Zero Discard Sourdough Starter Method
The zero discard sourdough starter method means feeding without pouring any starter out. You keep the whole culture and simply adjust how much flour and water you add.
How to Adapt Your Feeding Ratio
Feed a small amount of starter with a larger ratio of flour and water. This keeps the jar from growing out of control.
- Keep just 1 to 2 tablespoons of starter in the jar.
- Feed at a 1:5:5 ratio or higher (starter:flour:water).
- Stir well, cover, and let it rise.
- Use what you need for baking, then repeat.
Reading the Signs: Healthy, Hungry, or Neglected
Learning to read your starter saves you from guesswork. The jar tells you what it needs if you know the signs.
Signs of a healthy starter:
- Bubbly surface and visible rise after feeding
- Mild, tangy, yogurt-like smell
- Doubles in 4 to 8 hours at room temperature
- Spongy, web-like texture when stirred
Signs of a hungry starter:
- Flat top with little rise
- Strong sour or acetone smell
- Thin, watery layer on top
- Slow or no activity after feeding
Signs of a neglected starter:
- Thick dark liquid pooled on top
- Crusty dried edges
- Faint or unpleasant smell
- No bubbles at all
Hooch vs. Mold: A Visual Guide
Hooch is a dark liquid that forms on top of a hungry starter. It's a sign of hunger, not spoilage. It's usually gray, brown, or black, and it smells like alcohol or vinegar.
- Hooch: liquid, pourable, no fuzz. Stir it in or pour it off.
- Mold: fuzzy, patchy, raised. Throw the starter out and start fresh.
Fitting Starter Care Into Your Baking Schedule
Starter care should fit your life, not the other way around. The trick is matching feedings to when you actually bake.
- Bake day: pull the starter out, feed it, and let it rise.
- Day after: feed it again, let it peak, then return it to the fridge.
- Rest of the week: leave it alone.
Frequently Asked Questions
Can I leave my sourdough starter for a day without feeding?
Yes. A mature starter stored in the refrigerator can go a day, or even a week or more, without feeding. The cold temperature slows yeast activity and fermentation, so the culture stays stable. If your starter sits at room temperature, one day without feeding is usually fine for a strong culture, but it will get hungry faster. For longer gaps, refrigerating sourdough starter is the safer choice to prevent hooch buildup and off flavors.
What is the longest sourdough starter can go without feeding?
A refrigerated starter can survive several weeks to a few months without feeding, though flavor and activity decline over time. For best results, feed it at least once every two to four weeks. If you plan to bake, pull it out and feed it a few days ahead. Starters left longer than a few months may develop a dark layer of hooch or dehydration, but they can often be revived with repeated feedings.
Is it necessary to discard every time you feed your sourdough starter?
No. The zero discard sourdough starter method skips discarding by adjusting your feeding ratio and keeping a smaller amount of starter. Instead of removing half, you feed a small portion with just enough flour and water to reach the amount you need. This reduces waste and works well for bakers who keep a small jar. You still need to manage the ratio so the culture stays active and doesn't become too acidic.
How do I revive a sourdough starter after long-term storage?
Take the jar out of the fridge and let it sit at room temperature for about an hour. Pour off any dark hooch, then feed with fresh flour and water at a 1:1:1 ratio. Repeat every 12 to 24 hours until the starter doubles within 4 to 6 hours of feeding. For freeze-dried cultures, follow the packet instructions. A mature starter like My Rustic Roots Organic Mature Sourdough Starter can speed up activation because it is already well-established.
A starter that demands daily feeding isn't a starter that fits real life. With a little fridge time and a flexible schedule, you can keep a strong culture going without the daily grind. My Rustic Roots makes that easier with organic, non-GMO starters and tools built for real kitchens, including our 34 oz jar kit with clear markings, our mature 12g starter for fast activation, and our Sure Start culture for beginners. Get started with My Rustic Roots and bake sourdough on your own schedule.